Do you want to be able to go out into your yard and pick ripe pole beans, spicy peppers, lettuce and all sorts of berries and green produce? All you need is some good compost and sun as well as a a little water. Now is the time to start collecting all the falling leaves and final grass clippings for the year and put them in a pile or compost bin.
One of our friends, Lee Loree has been piling leaves, grass clippings and leftover produce in different areas of his yard for years to start a garden. He knew his garden would thrive if he mixed his soil with rich compost. Last year he planted his first summer garden and had more vegetables than he knew what to do with. This year he had a ton of peppers and beans which he shared with us. They are absolutely gorgeous and we have been warned they are hot!
Compost helps retain moisture in the soil which is ideal in drought conditions. The organic matter in compost feeds microorganisms and these microorganisms produce nitrogen, potassium, and phosphorus which is released into the soil feeding your plants. Compost stimulates healthy root development because the soil is healthier, less compact and more aerated. In summary, the better soil, the better plant growth, and the more fruits and vegetables you harvest and enjoy. You will have that green thumb you never thought you had!
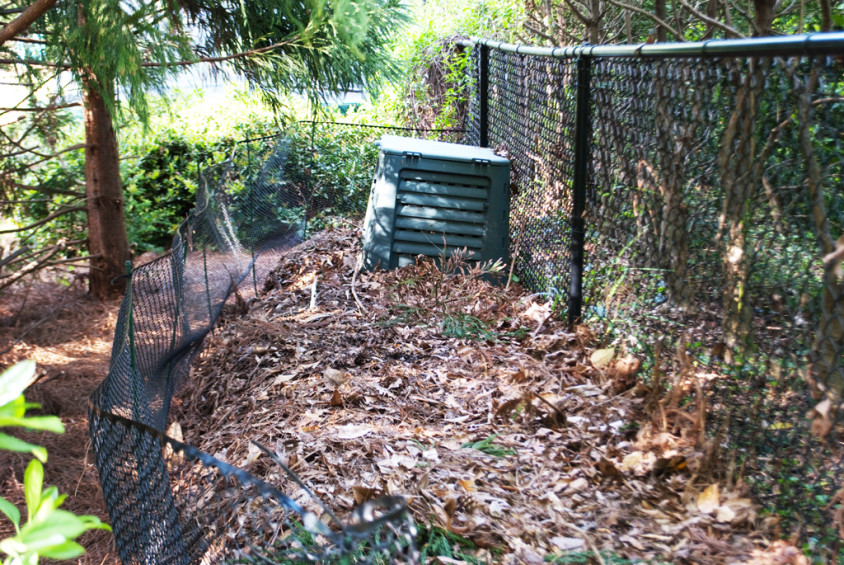
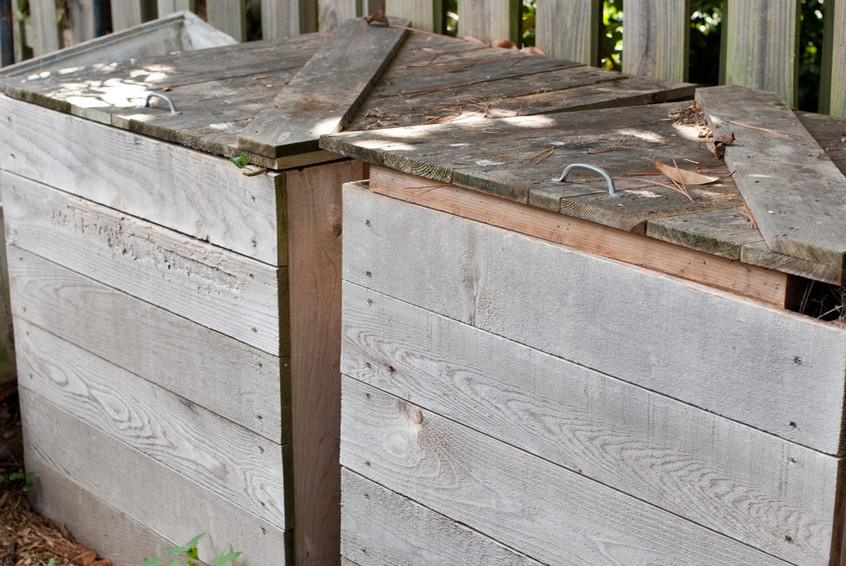
Composting is very simple. Instead of bagging all the fall leaves and your grass clippings and hauling them to the curb in brown bags, start piling them up in the corner of your yard or place them in some composting bins. Lee hides his piles behind a row of evergreen trees. Since we have a dog and raccoons, we have cedar bins with a heavy lid. When you place kitchen scraps in the bin, you need a heavy lid. Look at the claw marks from the raccoon trying to get into the cedar compost bin!
Here are some composting tips from Compost Guide.com:
1. Don?t throw away your kitchen scraps ? add them to the compost pile. Kitchen scraps are typically high in nitrogen, which helps heat up the compost pile and speed up the composting process. Egg shells, coffee grounds, fruit and vegetable peels and scraps are all outstanding materials to add.
2. If you?re composting with a compost pile, bigger is often better. Heat builds up with a big pile. You don?t want to get much bigger than about 3 feet by 3 feet though.
3. Keep your compost aerated! If you are composting with a tumbling composter, make sure you turn it whenever you add new materials. If you are composting with a pile, or in a static (non-tumbling) compost bin, be sure to mix up the contents so that the pile gets oxygen and can break down effectively. Use a compost aerating tool like this one.
4. Don?t let the compost completely dry out. A compost pile needs moisture to keep the composting process active.
5. Don?t keep your compost too wet so that it gets soggy and starts to stink. Just as too dry is bad, too wet is also something that you should avoid.
6. Too much of any one material will slow down the composting process. If you have all leaves, all grass clippings or an overload of any other single type of material, it can throw off the balance of the pile. In general, it?s good to keep a mix of green and brown material (see main page for more details on this).
Brown versus green is also referred to as Carbon to Nitrogen Ratio. “Scientists (yes, there are compost scientists) have determined that the fastest way to produce fertile, sweet-smelling compost is to maintain a C:N ratio somewhere around 25 to 30 parts carbon to 1 part nitrogen, or 25-30:1. If the C:N ratio is too high (excess carbon), decomposition slows down. If the C:N ratio is too low (excess nitrogen) you will end up with a stinky pile.” If you are interested in scientific ratios for the matter, visit the Organic Gardening Guru to see a chart of Carbon (Brown) versus Nitrogen (Green).
Since many of you will not be calculating the ratios for the perfect sweet smelling compost, I have included a simple set of steps to follow.
Easy Steps for a Compost Pile
STEP ONE
In a rodent resistant bin, create a base of 3″ – 4″ or woody, brushy material to promote aeration (do not mix into pile).
STEP TWO
Alternate layers of green and brown materials; keep the layers 2″ – 4″ deep. Common green (nitrogen) materials are grass, food scraps (uncooked fruit and vegetables, coffee grounds, filters, tea bags and egg shells) (wet), garden trimmings. Common brown (carbon) materials are, fall leaves, straw and newspaper strips (dry). Chop up larger materials for faster decomposition.
STEP THREE
Whenever you add a food scrap layer, make sure you sprinkle it with soil and then cap off with a brown layer to prevent smells and flies.
STEP FOUR
Mix bin contents often (minimum once every two weeks). This introduces air and gets bin heating up again. Mix older materials with newer materials for faster decomposition.
STEP FIVE
Moisture content of bin should be like a wrung out dish rag. Only add water if pile is very dry after mixing.
STEP SIX
Pile will shrink. Continue to add and mix until bin is almost full. Place carpet on surface of pile to retain heat and moisture.
STEP SEVEN
Compost is generally ready to use when it looks like humus (after about two to three months). However, aging the compost for another 1 to 2 months is recommended.
Now that you have the composting down, here are some other things to think about when planning a garden. You will learn more from trial and error. One important thing is to calculate how many hours of sun your garden will receive and how the shadows fall throughout the day. Your plants may bake in certain locations or get too much shade in others. You need a minimum of 6 hours of sun a day.
Fencing is important to keep animals from destroying your garden. This spring Lee made some changes to the design and installed a fence to prevent a rabbit from eating his vegetables. He planted his taller plants in the back along the fence so they would not block the morning sun and placed a plastic barrier around the plants so his strawberries did not rest on the ground attracting bugs. He learned this from a strawberry farm and it seemed to work better for him.
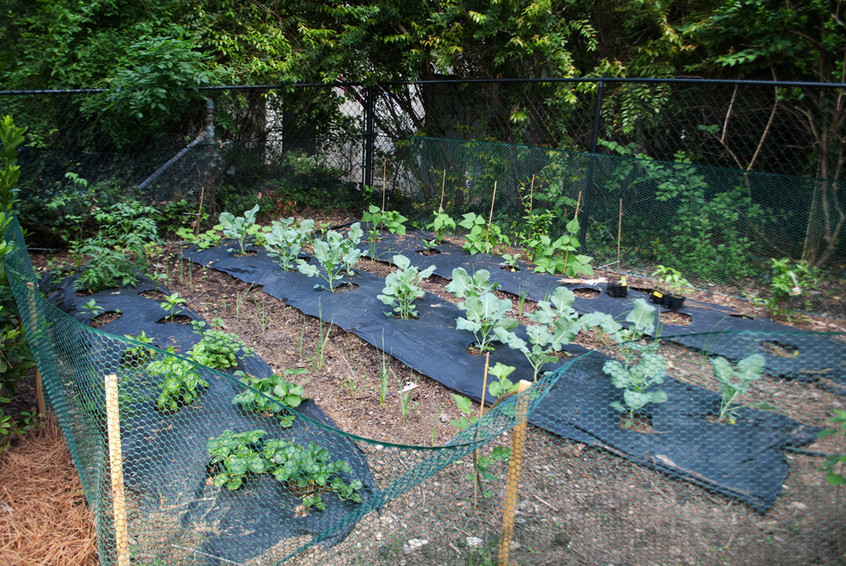
He also expanded his garden from last year and only planted things his family would eat. As you can see they have a ton of broccoli. If you love it as well, plant a large area. Broccoli can be hard to grow and you may not get as much as you think.
Lee decided the 18″ walking paths were wasted space so he planted onions and garlic down the middle of the path. These plants take up little space and are easy to walk around. My kids would trample them so I can not try this. Maybe in 5 years.
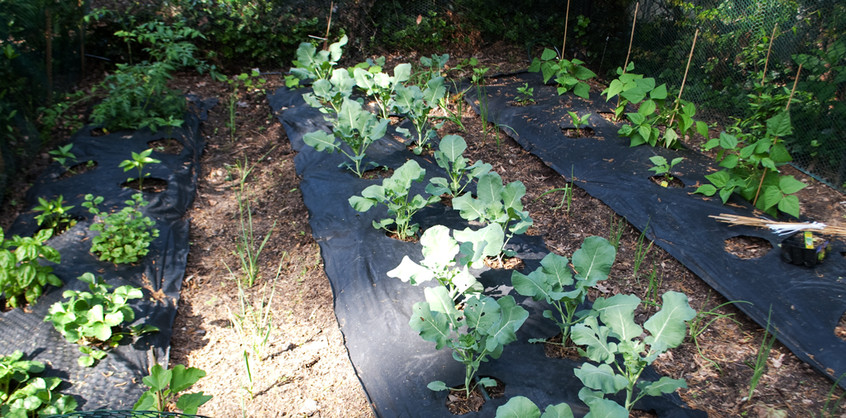
This is a perfect layout for the back corner of your home. If you try this, make sure you are planting east to west and have your tall plants on the north side for maximum sunlight. Remember sun, compost, and a fence are crucial for your success. Happy fall composting and planting!
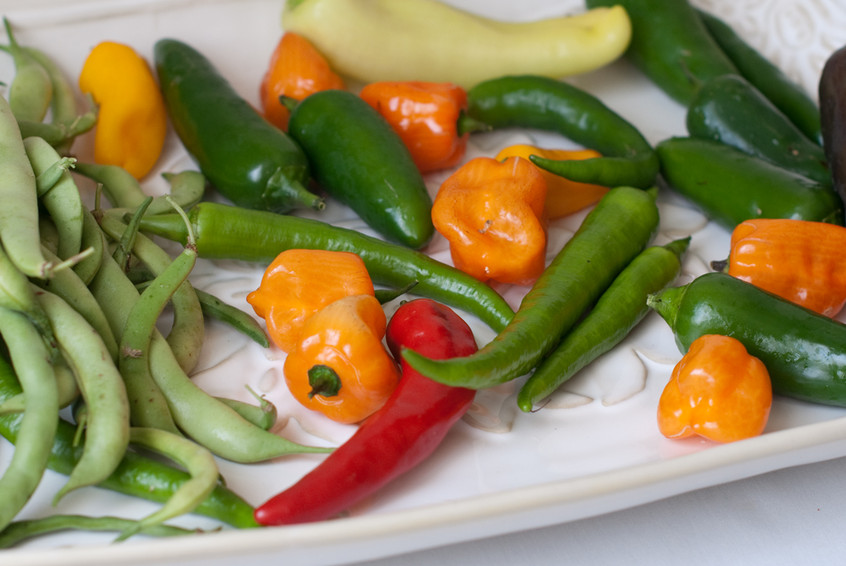
Note: I will post some recipes using Lee’s spicy peppers. My sister-in-law is going to have a baby any day now and she loves food with a lot of kick. Maybe the spice will help her go into labor!
