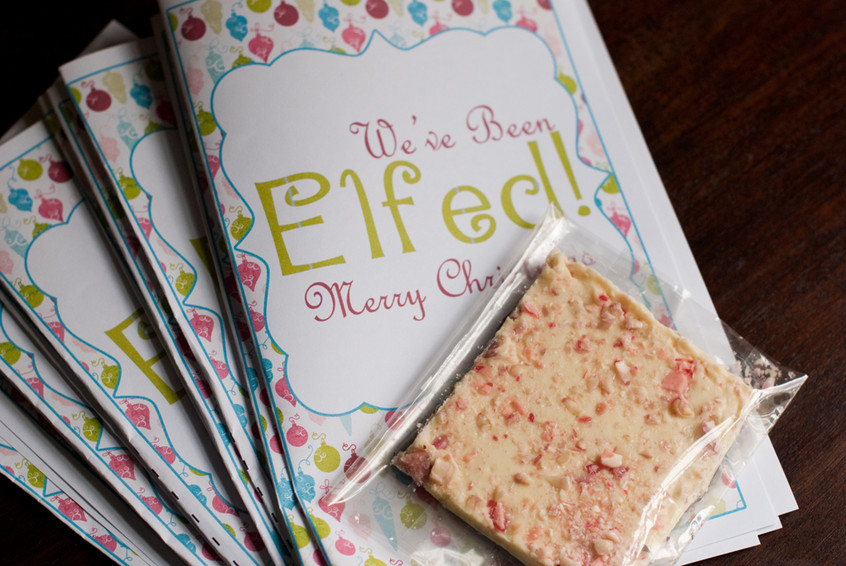
Peppermint Bark makes a great gift for teachers, classmates, friends and family members. This is a simple recipe you can make at home but everyone will think you bought them from a gourmet chocolate store. Finish the gift with a custom tag or We Have Been Elfed card.
For a shiny and smooth chocolate that can be stored at room temperature, you need to temper the chocolate. All of the professional chefs temper their chocolates and it is quite easy to do. Pastry Chef Heather Hurlbert of HHDesserts shared some of the tricks of the trade to help you make the best peppermint bark ever.
1) Dry environment with low humidity. Make sure all the equipment is dry. Water and chocolate do not mix and can cause the chocolate to seize.
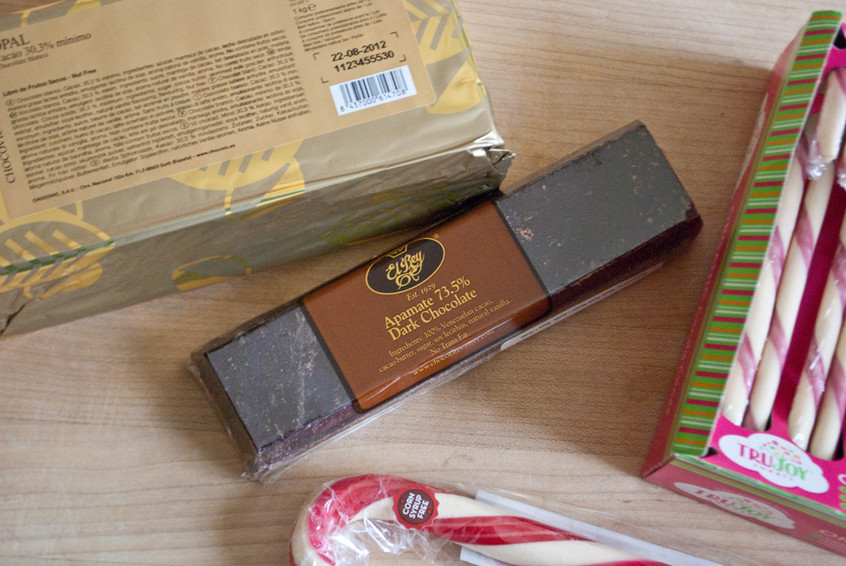
2) Use high quality chocolate bars. The quality and type of chocolate is important. Do not use baking chips; they are meant for baking and not melting. Buy the highest quality chocolate you can afford. Melt at least 1 pound of chocolate even if you do not need that much. Valrhona, El Rey and Callebaut are very good brands.
3) Temperature control. If this is your first time tempering, you will need a thermometer to ensure you do not overheat the chocolate. “The chocolate should not go above 100-110F degrees or the sugar may burn and seize. If white chocolate gets over heated while melting, it will actually start to caramelize (turn brown) which is still good to use but harder to handle.”
After you have melted the chocolate, it needs to cool to the proper temperature. White chocolate has more cocoa butter so it has a lower tempering point than dark chocolate. White chocolate should temper in the range of 88 to 92F degrees. Milk Chocolate in 90 to 92 degrees and Dark Chocolate from 92 to 94 degrees.
4) Lip test for proper temper.
If you do not have a thermometer, do the lip test. Place a dab of chocolate under your lip to see if it is slightly cool. Chocolate is ready to pour into molds if it is around body temperature. You can also place a dab of chocolate on wax paper and place in the refrigerator to see if it hardens within a couple minutes.
5) The silky appearance of tempered chocolate.
The chocolate is properly tempered if it is shiny, has a satisfying snap and smooth. If it looks dull or has streaks then it is not stable at room temperature. The streaks mean the fat has separated from the chocolate and will “bloom” over time. People think the chocolate is moldy when it blooms. Reheat the chocolate if it is not tempered properly.
Directions
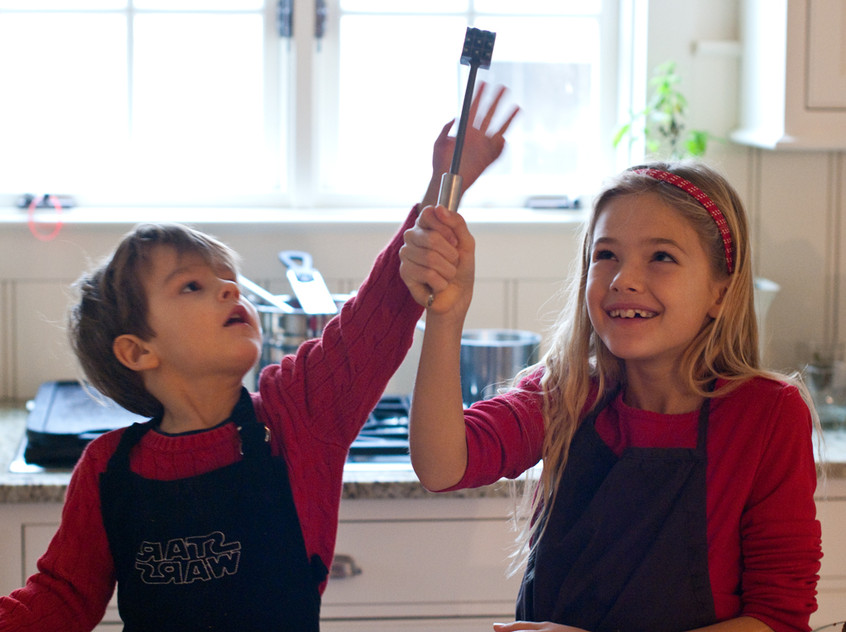
1) Break the candy canes (preferably corn syrup and red 40 dye free) in tiny pieces with a small mallet or food processor. Place them in a plastic bag before you start swinging away with a mallet. Set the pieces aside to sprinkle over the top.
2) Fill two large saucepans halfway with water and bring to a boil.
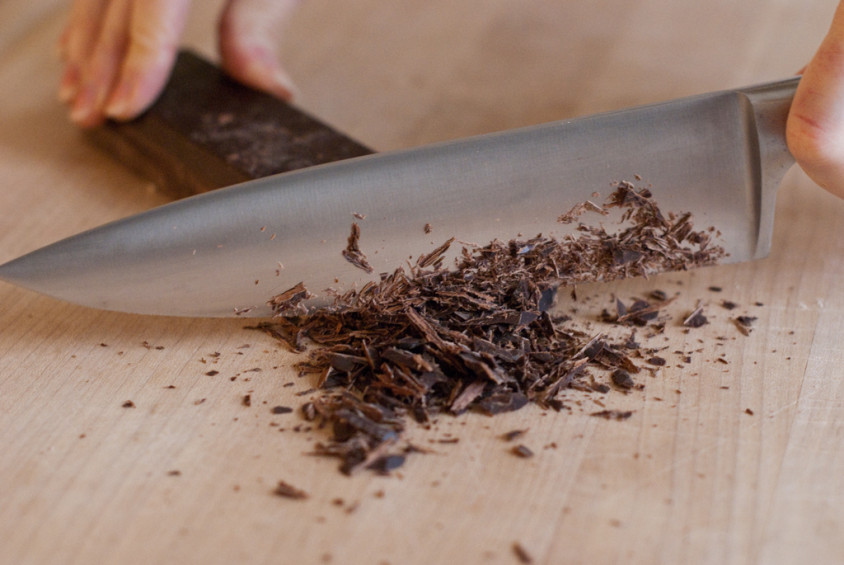
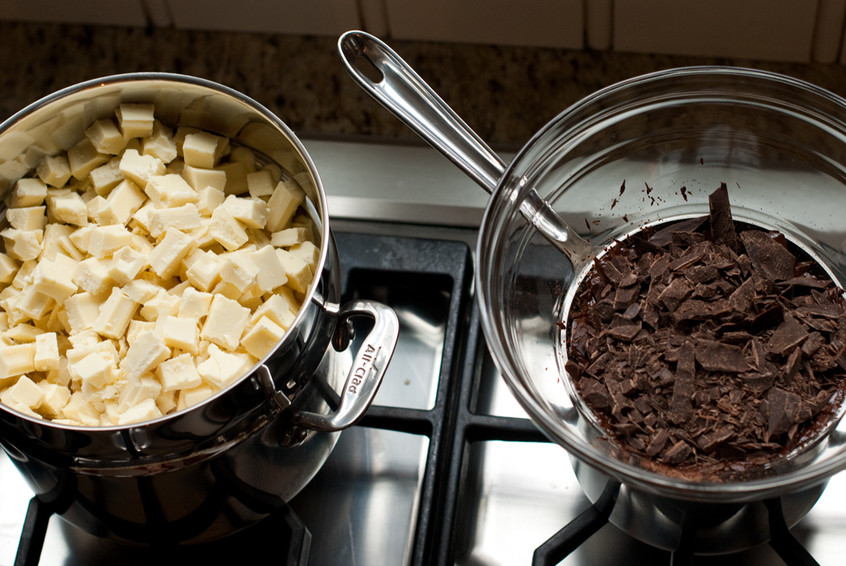
3) Chop the white chocolate into 1/2 inch pieces and place in a double boiler or metal/heat resistant glass bowl that fits on top of the sauce pan. Chop the dark chocolate and place in another bowl that will fit over the saucepan.
4) Remove the saucepan with boiling water from the heat. Place the bowls with chocolate over the saucepans; the chocolate will melt due to the residual heat. Stir with a spatula. The chocolate should be smooth and fluid. When the chocolate has melted, place the bowls on the counter and let cool.
If you have a marble slab and pastry tools, pour the dark chocolate onto the slab and start moving the chocolate on the edges toward the middle to ensure the chocolate cools evenly. You have seen this technique at Praline shops. Here is a video to refresh your memory.
If you do not have a slab, then stir the chocolate to help it cool evenly. When it is 92 to 94F or it is slightly cool under your lip, it is ready to pour.
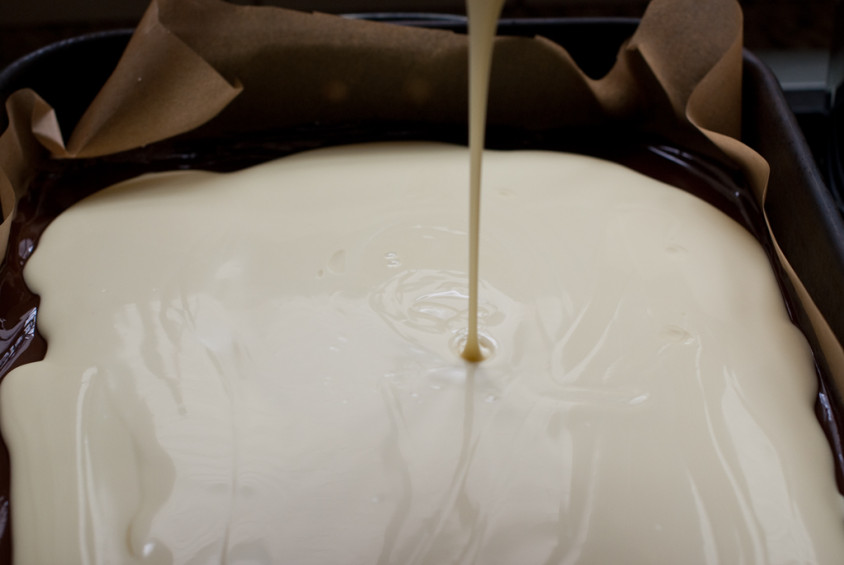
5) Place a piece of acetate or parchment paper over a rimmed cookie sheet. (Warning: the parchment paper may leave some lines are marks on the chocolate.) Pour the dark chocolate in to the pan and smooth the top of the thin layer using a thin spatula. You will not use all of the dark chocolate unless you want a thick layer of dark chocolate. Wipe the spatula clean and check the white chocolate using the steps above to see if it is tempered. Pour the white chocolate over the dark gently to ensure the layers do not blend together. (Note: You do not want the dark chocolate to harden before you pour the white or they may separate when you crack the bark. )
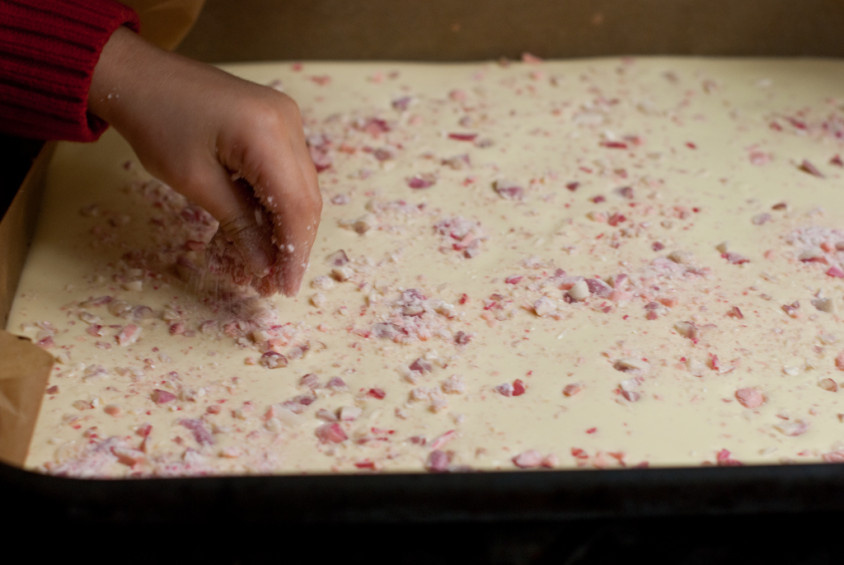
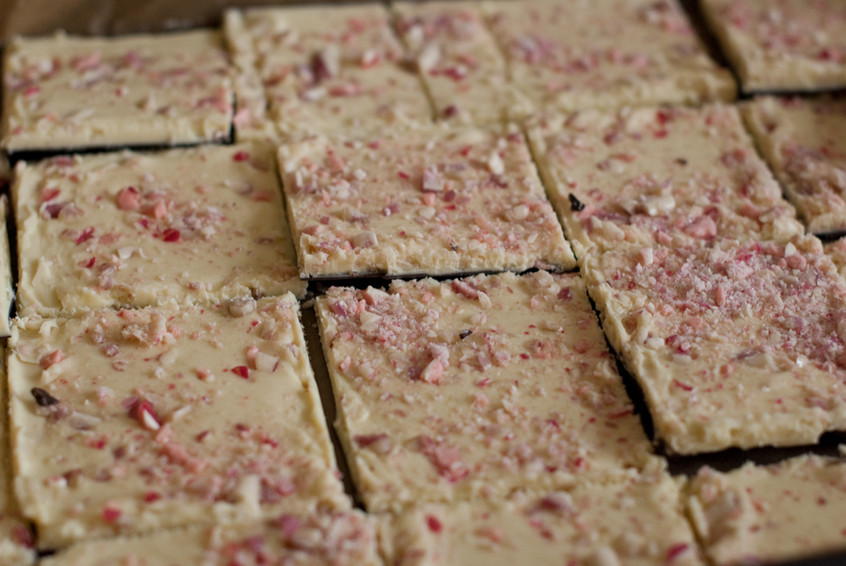
6) Sprinkle candy cane over the top. Now place in the freezer covered with foil for 10 minutes. If you want squares, remove the pan after a few minutes to score the chocolate with a knife or metal spatula so it will break into defined pieces.
7) Crack the peppermint bark in pieces and place in plastic bags with your tags or You Have Been Elfed cards.
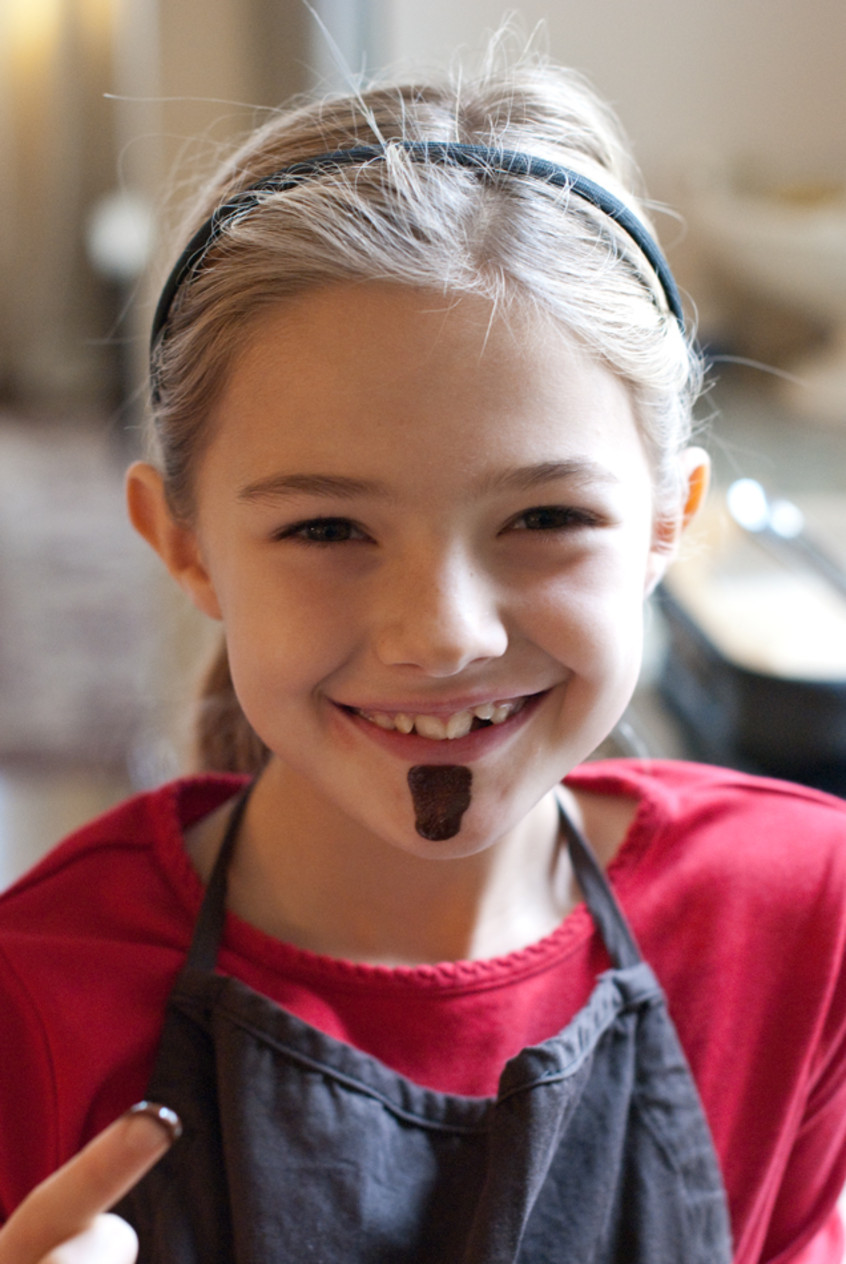
Now go Elf your friends. Here are some funny pictures of my kids knocking and hiding. Enjoy!


Heather Hurlbert of HH Desserts has Peppermint Bark with chocolate covered coffee beans, a spiced pecan chocolate bark and a pumpkin white chocolate bark with cranberries for those of you short on time and looking for a very gourmet gift. She will wrap them for you too. Happy Holidays!